Grand Theft Auto IV Walkthrough
| « | 169 | 170 | 171 | 172 | 173 | 174 | 175 | 176 | 177 |
| Out of Commission | Final |
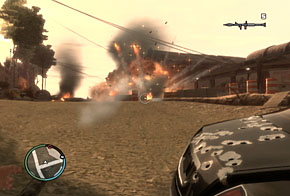
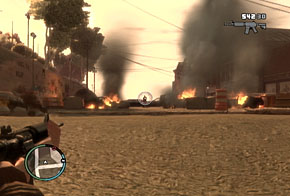
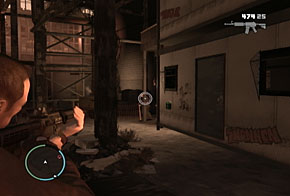
First, it's time to clear the front of the abandoned casino of the numerous enemies waiting there for you. The RPG we earlier recommended you buy comes in handy here, since the foes ahead are using motor vehicles for cover. Well-aimed rockets can eliminate the cars, forcing explosions that will kill, maim and injure many of the enemies who are currently hiding. Once some or all of the cars are ablaze, you can then pull out an assault rifle and begin running around, eliminating any stragglers. Be especially mindful of two pesky groups of enemies as you do this, however. Three foes will be along the lower roof on your right, while two shotgun-toting foes will attempt to make you miserable from a ditch behind the cars' location.


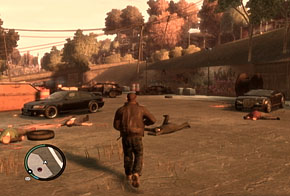
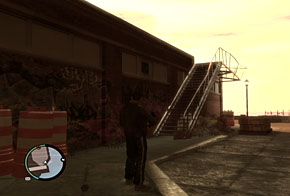
When all is quiet, it's time to breach the building. You have some options, because there are three ways this can be done. The first most undesirable way to do so is to simply go through the front door into the building, where you can deal with the remaining enemies head-on. The other two techniques are preferable, however, because they allow you to thin out the enemy ranks before having to face them directly in close quarters. Therefore, we recommend using one of these two techniques, two which meet up rather nicely in the end. Both involve going to the building's roof. While facing the front of the building, going left and around back will lead you to a long ladder which will lead to the roof, while going around to the right will bring you to a staircase and a shorter, more manageable ladder. Ultimately, however, once you're up there it's all a matter of getting to the various holes in the roof which will allow you to take potshots at the foes below without them being able to respond with more than random fire.


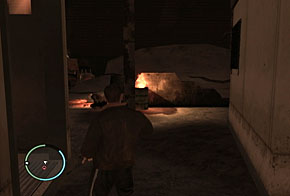
It's entirely possible you were able to clear each and every enemy from strategically placing yourself along the roof and firing through the holes in the aging structure. Either way, though, you're going to need to drop in and make sure for yourself. We recommend just falling through the roof (it's a completely survivable fall, plus there's health within if you need it), but if it makes you feel better, you can climb back down to ground level and go through the front door. Either way, as soon as you arrive, head through the rubble-filled rooms to clear any remaining enemies (there should only be five or six enemies in here total). Then, seek out a room on the far end of this abandoned building.


| Give us feedback! | Continue Walkthrough... |
Grand Theft Auto IV: The Ballad of Gay Tony Cheats
Grand Theft Auto: Episodes from Liberty City Cheats
The Elder Scrolls V: Skyrim Cheats
Saints Row: The Third Cheats
Grand Theft Auto IV: The Lost and Damned Cheats
Red Dead Redemption Cheats
Call of Duty: Black Ops Cheats
Assassin's Creed III Cheats
Minecraft (Xbox 360 Edition) Cheats
Call of Duty: Black Ops II Cheats
NDS
Professor Layton and the Last Specter
X360
Forza Motorsport 4
Wii
Rune Factory: Tides of Destiny
NDS
Harvest Moon: The Tale of Two Towns
PS3
Dark Souls
PC
Dark Souls (Prepare to Die Edition)
X360
Warhammer 40,000: Space Marine
Web
War Commander
PS3
Ultimate Marvel Vs. Capcom 3
X360
Trials Evolution
|
Grand Theft Auto IV at IGN
Grand Theft Auto IV Cheats at IGN
Grand Theft Auto IV Guide at IGN
Grand Theft Auto IV at GameSpy
Grand Theft Auto IV at TeamXbox
Grand Theft Auto IV at GameStats
|