Zobrazují se příspěvky se štítkemConversions. Zobrazit všechny příspěvky

sobota 1. června 2024

Hive Tyrant... with magnetized wings!

Hive Tyrants are without a question my favorite commander units in Warhammer 40.000. Yes, that's right, not just Tyranids, but the whole 40K. Why? They are imposing, psychic yet still excelling in combat, and they have so many different weapon options, something that is becoming a rare sight in post-Primaris Warhammer. This is why decided to at least partially magnetize my own Hivefleet Leviathan Tyrant.

Hive tyrant w. Bonesword

I actually went only with magnetizing the upper arms, so that I can provide my Tyrant with a variety of melee weapons (and wings). The venom cannon is fixed as I consider it both visually appealing and satisfying on the battlefield. With a Tyrant, shooting is only a bonus, anyway.

Magnetizing the arms is actually very easy, you simply drill a hole where the joint connections would be and place magnets inside. Only problems is with the wings, which are simply too heavy for most magnets (see more on that below).

I went with my usual Leviathan paint scheme - with Ceramite White (White Scar) basecoat, Screaming Skull undercoat, Carroburg Crimson wash and Ceramite White drybrush. The bioweapons are painted with Mephiston Red basecoat, Carroburg wash and Evil Sunz Scarlet drybrush/highlights.Carapace is basecoated black and then highlighted with multiple strokes of Xereus Purple and Genestealer Purple.


Hive Tyrant w. Scything Talons

Hive Tyrant w. Scything Talons

One of my favourite looks is with the Scything Talons for upper arms. Unfortunately this combination seems illegal in the 10th edition. Don't get me started on that.

Hive Tyrant with wings


The most impressive way to build the model is with the wings. I love the way the miniature looks with feet stamping on the ground and the wings spreading! The wings are painted with a Kislev Flesh equivalent and, of course, they are too heavy to hold on just the magnets. I've fixed them in position using short pins protruding from the wings and fitting into rather inconspicuous drilled holes above the magnets. 

For best results, I recommend starting by drilling inside the wings just behind the magnets and fixing the pins with super glue and/or green stuff. After that, then try the wings on the model and watch where the pin scratches the model. Then drill a hole there. Be careful while drilling that a proper direction is mantained.

Take a look at the pictures below to see how the pinning sytem works:

 Anyway, hope this post is helpful! Let me know if you want help or could use more pictures.

čtvrtek 20. června 2019

More The Pyre cultists!

Just a couple of quick pictures of the rest of my Chaos Cultists. I had these painted for quite some time but never really got to taking pictures of them.


 The paintjob is nothing special, these guys were rushed so I could put them on the tabletop as soon as possible. The modelling is more interesting though - I didn't want to have any clones in the army, so each of these guys had at least a hand- (or arm-) swap done, excluding the cultist champion. It went pretty well.


The most fun model to convert was the flamer guy, who wielded a heavy stubber originally. The Pyre is known for its heavy use of flame weapons, so this conversion was a nobrainer. The flamer and backpack comes from the Cadian troops kit - a very simple yet effective kitbash. It's kinda shame Games Workshop doesn't sell all these original Cultist models, since these guys had a huge conversion potential. Oh well.


The miniature above is a Renegade Militia soldier I got for free at a gaming convention. It's a pity Forge World doesn't produce the Renegade infantry anymore, this army had lots of atmosphere. Good thing is that he goes well with the cultists, so sometimes I use it instead of one of the Champions when I want to field a 20-men sized cultists blob.

Anyways, thanks for reading and see you soon! Now back to working on Shadowspear...

úterý 10. července 2012

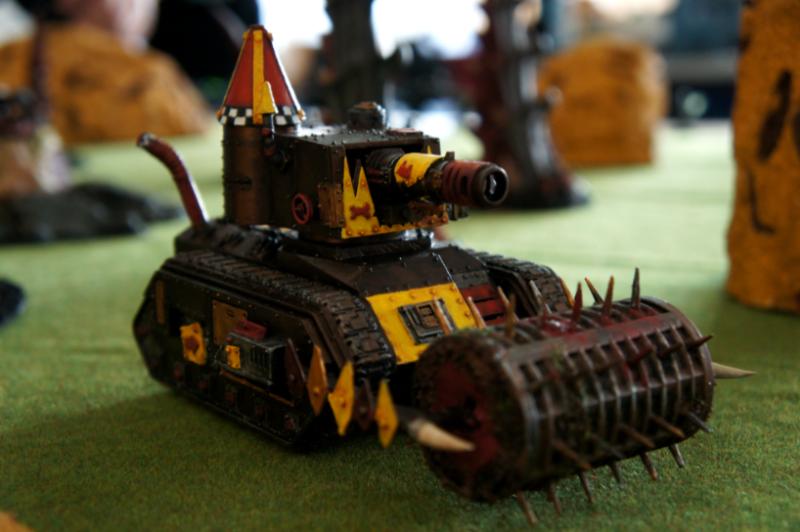
Ork Bonebreaka Gunwagon finished!

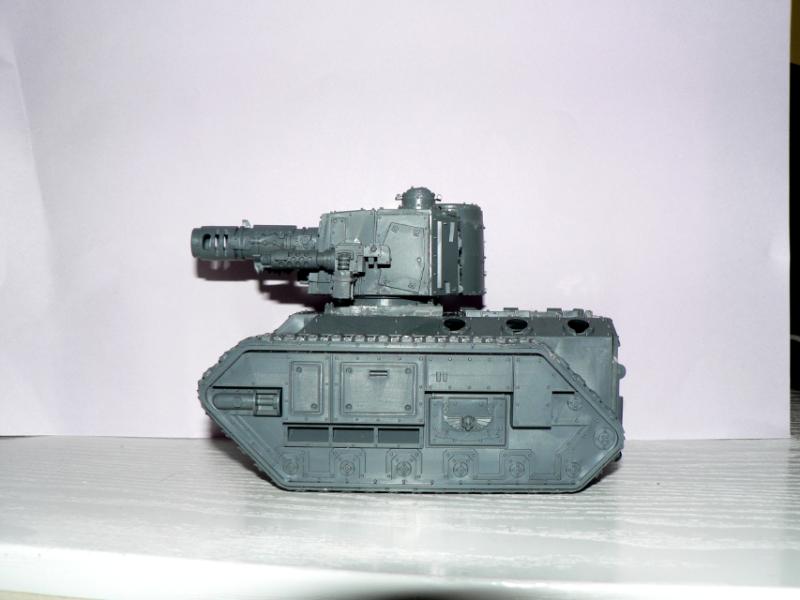
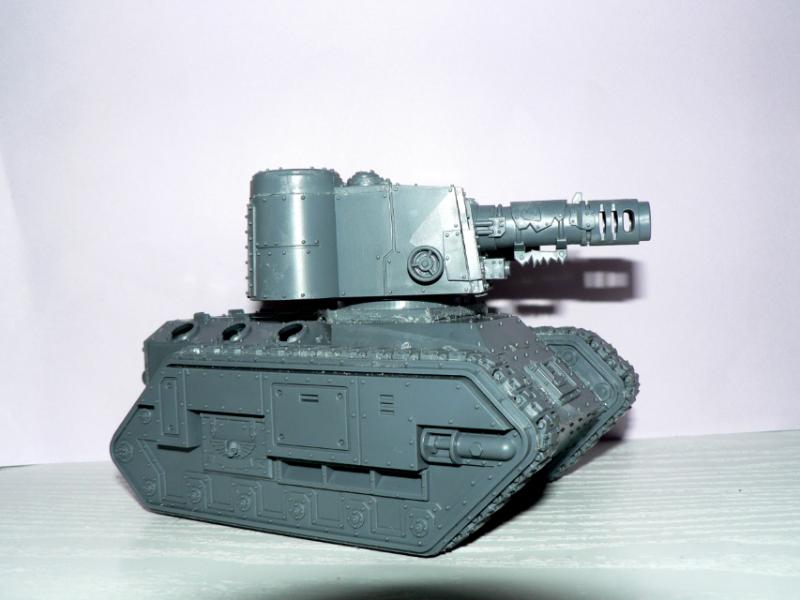
Nearly a year ago I started working on a Bonebreaka gunwagon - second edition Epic ork tank armed with a Battlecannon and a Deffrolla. I made two posts with the vehicle, and now it is finally finished and painted. So, let's see the beast!

Luckily enough, I took the vehicle to a 6th edition test game on a gaming con, and a friend took some very nice pictures of the vehicle - this reminds me how important it is to have a good camera and know how to use it! I'll post about the game soon.

Battlewagon, Bonebreaka, Chimera, Gunwagon, Kitbash

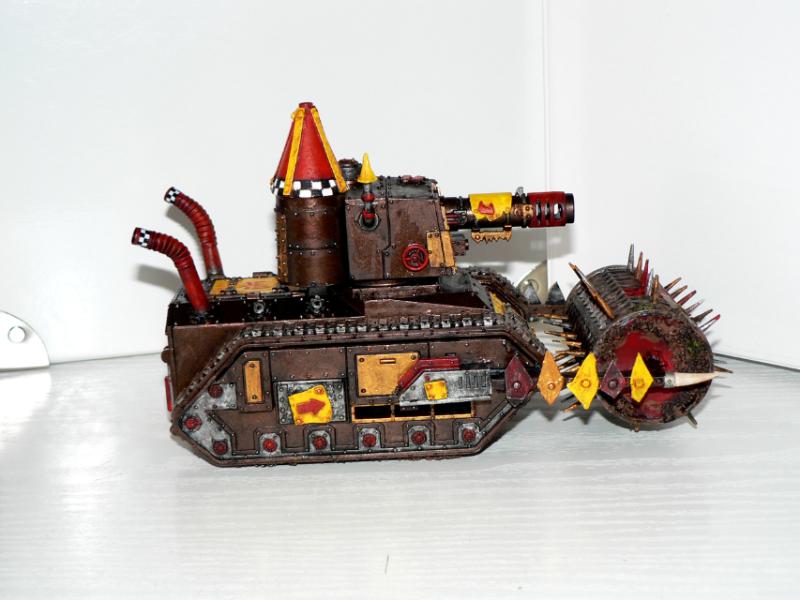
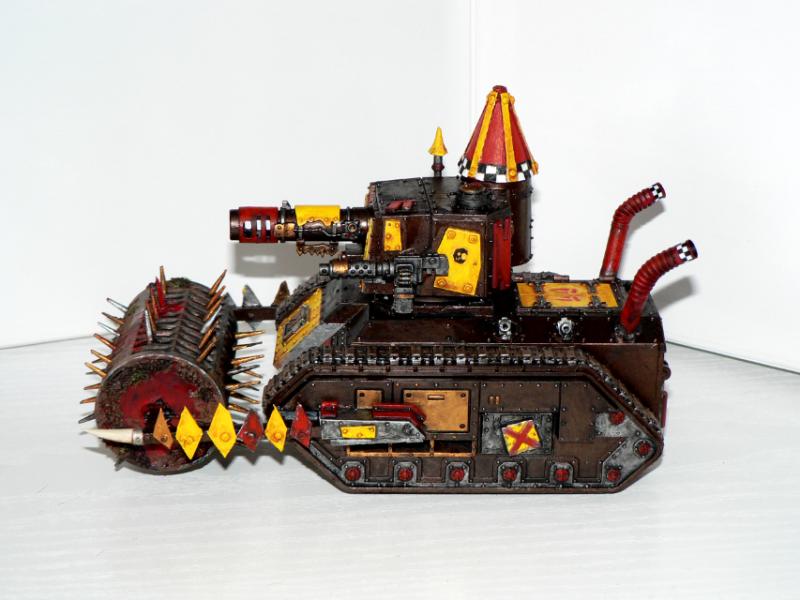
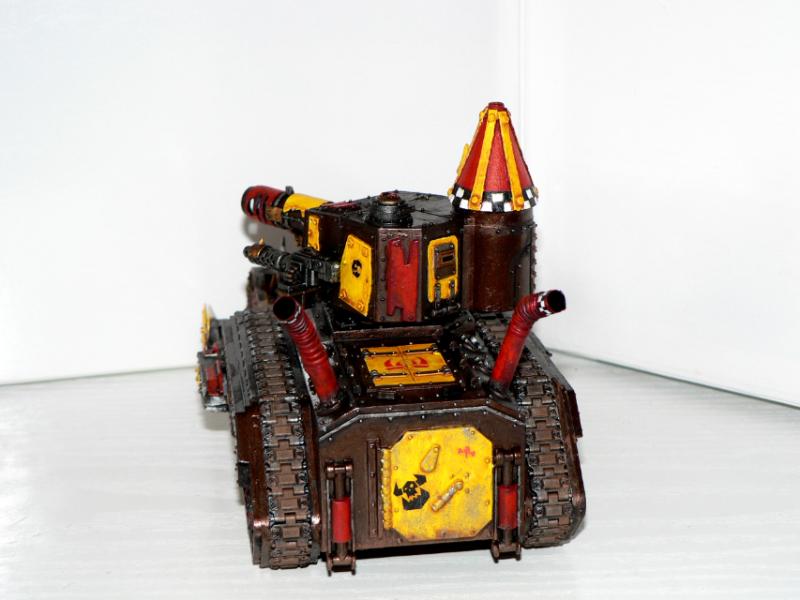
Since my last update, I have added a conical (or should I say "comical") turret and some more details - for example the mushroom-like exhaust pipe on top or the teeth-like plates on the deffrolla holding arms. I've decided to "barricade" any leftover holes with small pieces of plastic, so it looks like the Orks looted the original weaponry and did not care much about replacing it or fixing the damage.

Let's look at some more regular pictures of the vehicle:

Battlewagon, Bonebreaka, Chimera, Gunwagon, Kitbash

I'm very proud of the paintjob, this must be the best looking vehicle I have so far (not that there are many). I actually mobilized my girlfriend for this one, and she has painted most of the vehicle! My job was mostly washing and highlighting the wagon, and adding transfers and dirt. And I think we both succeeded, the vehicle looked very good on the tabletop - pity it didn't kill anything!

Battlewagon, Bonebreaka, Chimera, Gunwagon, Kitbash

I hope you like the wagon and find it interesting or even inspiring. I really think second edition ork vehicles such as Bonebreakas, Gutrippas or Pulsa Rokkits deserve a second chance - in fact, now I think I'll start a Bonecruncha project one day!

One last thing - this vehicle has been actually made with the Dakka Dakka Ork Vehicle Competition 2011 in mind. So if you like it, you can give it a vote here! It's also worth checking the poll for other vehicles, you can find some truly incredible orky contraptions there.

Thanks for reading and see you soon!

středa 21. března 2012

Finished: Magnetized Predator

Edit: Be sure to check out the wallpaper-size picture of this tank here!

It took ages, but my Predator is finally finished! I decided to make its weapons magnetized - after all, you never know whether the Annihilator pattern won't be worth it when the next Codex gets released. Anyways, let's see the dakkapred first!


I tried to make the vehicle more detailed and more weathered than my Rhino. More bright colors are used (mainly for targeters), and I've done some weathering around the exhaust pipes - nothing more than a simple drybrush, but it feels good.


A side view on the Destructor pattern, showing the weathering and a heavy bolter. I use a 1:1 mix of Tin Bitz and Chaos Black for the black metal on weapons.


I've already tested the Destructor in a small battle and I have to admit it is a beast (at least when it comes to putting down Orks). Yet, somehow, I like the design of Annihilator more, and I guess it can be seen on the model. A sniper tank with four lascannons (ok, three and a half, technically) just deserves respect; I wish this setup would be more worth it in-game. As a side note, I'm glad I got all the insignia right this time (gotta love that Insignium Astartes).


Finally, the controversial Maverick (or "autolas") pattern. Somehow this pattern actually feels the most basic for me, since it was the only one featured in Final Liberation, the game that got me into this hobby.

Anyways, let's take a short look on the magnetizing!

Magnet, Predator, Magnetized Predator Turret

The turret wasn't really hard to magnetize. What you need are 3mm wide, 1mm high neodymium magnets; they fit the holes almost perfectly. I also advise glueing a small piece of plastic on the turrets lower side, so that the weapon holds firmly and doesn't fall down (which is always a risk with small magnets). If you look carefully, you can see on the picture that I used just a small piece of sprue there, and it works great.

Magnet, Predator, Magnetized Predator sponsons

The sponsons are harder to magnetize right. I decided to go the easy way and replace the whole weapon support with a line of magnets - it works pretty good and is not really noticable on the model. Just be *very* careful to glue everything right and even, so you don't end up with the weapons leaning in sloppy angles. Drilling a correct size hole into the weapons themselves is annoying as well; perhaps a bit of green stuff might help there (didn't try though).
Magnet, Predator, Magnetized Predator

So here's the model with all its parts separated. The army building possibilities are great with magnetized models, but to be honest, if you are a perfectionist, go with the normal, un-magnetized look. If you are more into gaming, though, magnetizing will allow you to try a lot of options without proxying or buying multiple models and the Predator is a good model to get a grip on it, since you need magnets of only one size. Be sure to get a good bunch of them, thought - the turret part requires at least 6, and the sponsons require anywhere from 4 to 12, depending on the way you deal with it.

Anyways, I hope you like the vehicle! See you soon.

neděle 19. února 2012

Simple Combi-Flamer Conversion

Hello! You might have noticed my love for combi-weapons before in my tutorial for combi-plasma conversions. I'm fond of flamethrowers too, so this post will be about converting a combi-flamer using as basic bits and techniques as possible.
1. Basic materials

Yes, for this conversion you'll need not much more than a regular bolter and an orkish slugga pistol! You can find this particular slugga in Boy Mob kits, as well as in the Assault on Black Reach box.

2. Merging it together

I think the pictures are self-explanatory here. First, carefully cut off the boltgun's muzzle. Then, cut off the slugga's frontal part and glue it onto the boltgun. File the surfaces first so the new muzzle is exactly in line with the boltgun - you don't want to leave the gun with a bent barrel!

3. Adding a fuel tank

As an optional decoration, you can take krak grenades, split them up, file them and glue them onto the weapon. They'll make good fuel tanks for the flamer.

And that's all! The final product actually looks quite similar to the "Vulcan pattern" combi-flamer, which can be seen at Lexicanum. You can even try to put the krak grenade part under the barrel, to make it nearly identical.

Here you can see the finished weapon on a commander:


And here you can see the weapon again, with some paint:


Anyways, I hope you found this tutorial helpful! As always, comments and criticism is most welcome.

pondělí 11. července 2011

Bonebreaka WIP 1

Hello there!

Maybe you remember the post about my love of Final Liberation ork vehicles. After hours and hours (or months and months) of thinking, I have finally decided to build a kitbashed Bonebreaka, which will serve in my army as a Battlewagon proxy.


Bonebreaka is equipped with a Deathroller and a Battlecannon, a perfect setup for a Battlewagon!

I was deciding between Rhino and Chimera body for the wagon and in the end I went for the Chimera - guardist vehicles look easier convertable into Orks thanks to their industrial feel (and bolts everywhere). I also bought a battlewagon turret from a friend, and I was lucky enough to get a Killkannon too - no deathrolla though.

Joining the chassis and turret mount went rather good. I had to out large section of the original Chimera turret mount - battlewagon turret simply needs a larger hole. I also used only part of the Battlewagon turret platform here, because the whole platform would be too large for the vehicle. Hobby driller helped a lot here.

Battlewagon, Chimera, Kitbash, Orks, Work In Progress

Battlewagon, Chimera, Kitbash, Orks, Work In Progress

I also had to saw off one of the corners of the turret mount, which wasn't hard at all. The newly modified platform fits very well on the vehicle.

Battlewagon, Bonebreaka, Chimera, Kitbash, Orks

Here is the vehicle with turret on it. Notice the deffdread Big Shoota on the turret's side. I decided to keep the turret rather simple, so it wouldn't get too large in compare to the chimera body. Pipboy101's article about The Zen of Converting Orks was a great inspiration here.

Battlewagon, Bonebreaka, Chimera, Kitbash, Orks

I love that little valve on the turret. It looks almost as if it is connected to the Killkannon somehow!

Right now, I'm trying to scratchbuild the Deathrolla. Don't laugh, but I'm thinking about using a hair-roller for it. That's right, Orks can loot anything, your mom's wardrobe included!

Also, more posts are coming soon. I have Genesis Chapter Captain and Scouts finished - the only thing they need now is basing, which won't take long. So, see you soon!

pondělí 7. března 2011

AOBR Terminators WIP

Hello there!

I'm not dead yet, but I'm not much alive either - I have so much work this semester that I will have hardly any time for Warhammer until April or May. I'm hardly ever at home, so the only thing I can do now is to hoard stuff. Therefore, excuse me for my delay, I promise I'll make up for it in summer!

Anyways, I thought I could share few pictures of my nearly finished Terminators. They still need a lot of work - bases, custom decals and ofcourse, a careful check for mistakes, and some more details, too.


As you can see, I'm trying to customize these, since the AOBR terminators are rather... boring and duplicate. Commander set helped a lot with this one.

Another bad thing about AOBR terminators is their lack of special weapons. Luckily, I have a shiny metal assault cannon from a friend!


I guess you noticed the color scheme difference. I used white as a veteran color on a first bunch of termies, and then switched to Mithril Silver - but I couldn't imagine a Terminator without it's classy white helmet, so I kept that on. So right now I have two red/white termies, and three red/silver ones! Let's see the difference closer:


I think I'll stay with the silver scheme because it makes the terminator look more battle-worn (and I'm going for that look in this army), but the unit is a mess. I hope it doesn't matter that much, because I really don't feel like repainting the white ones. Opinions are welcome though!

Anyways, I'm afraid this is all for now, and for few weeks (perhaps months) as well. :sight: See you in summer.

neděle 28. listopadu 2010

Bad Moons Trukk finished!

Hello there and sorry for the long abstain - I have plenty of work IRL right now, and I'm working on so many 40k projects at once lately!

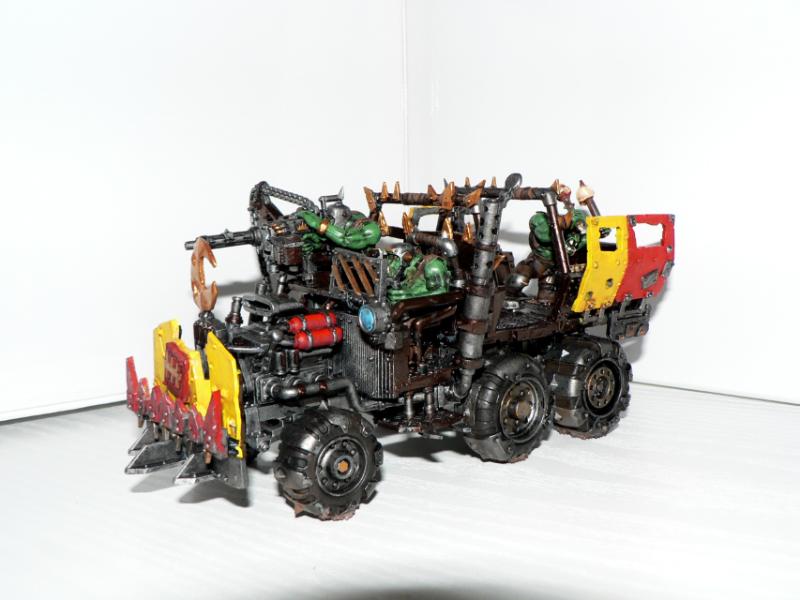
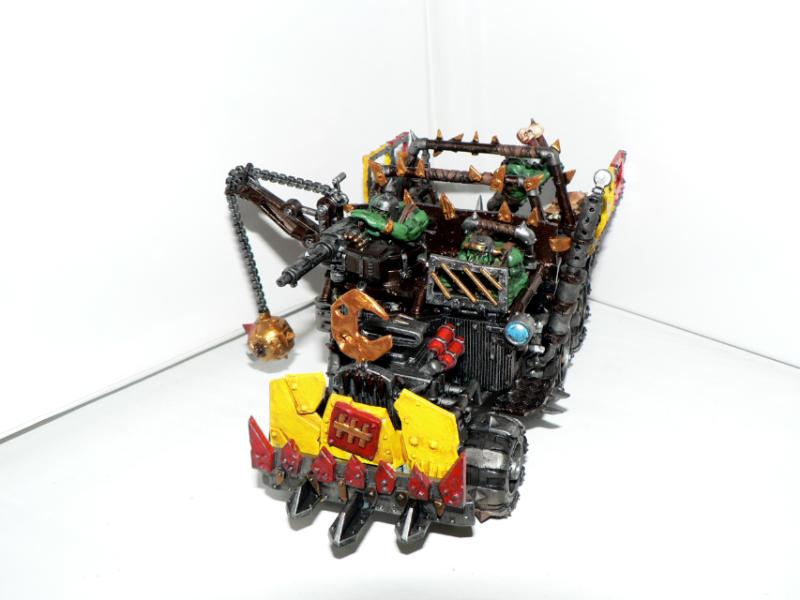
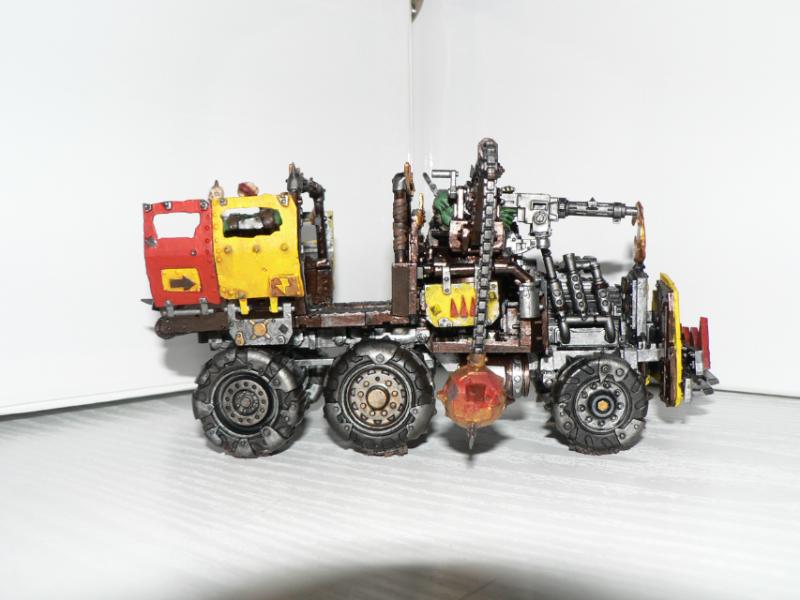
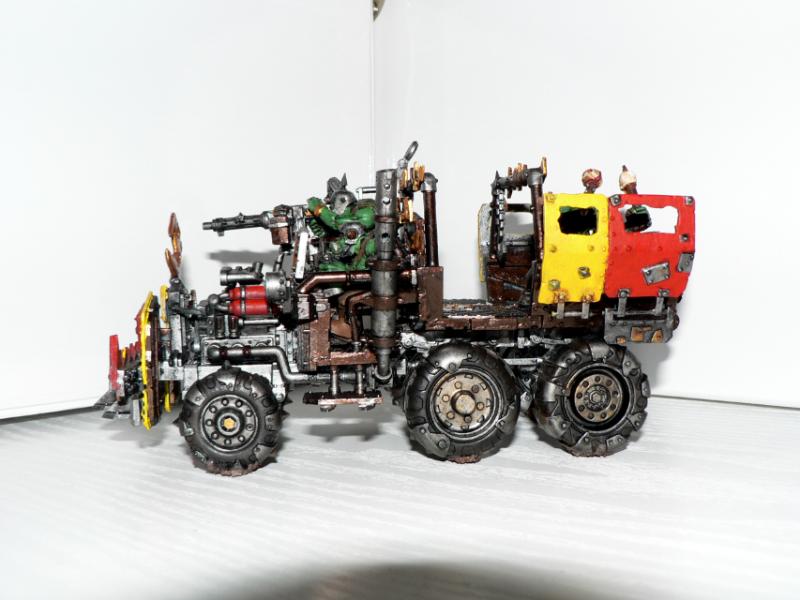
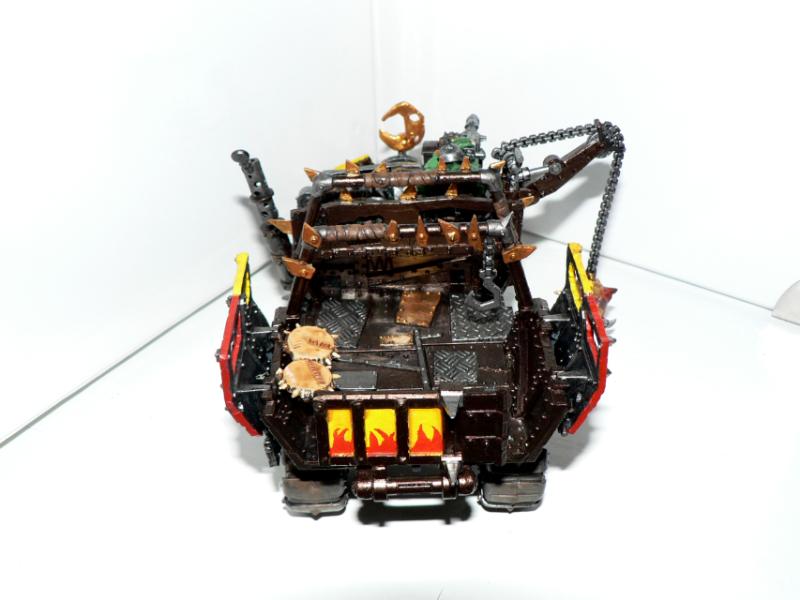
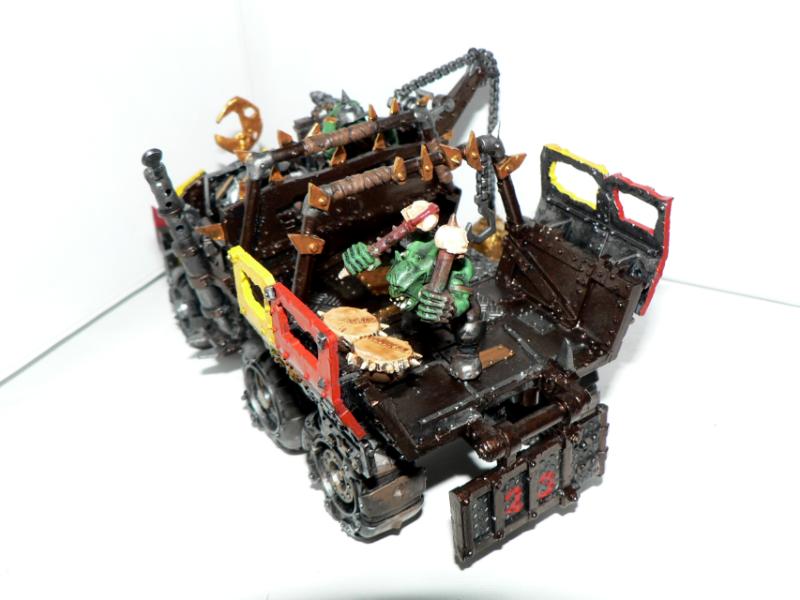
Well, at least I have finished my first Ork Trukk. I plan to have 2-3 trukks in my army, one well-equipped for my nobz, the other lighter for choppa boyz. The one I have finished is the heavy equipped one; so, let's have a look at it!


Bad Moons, Trukk

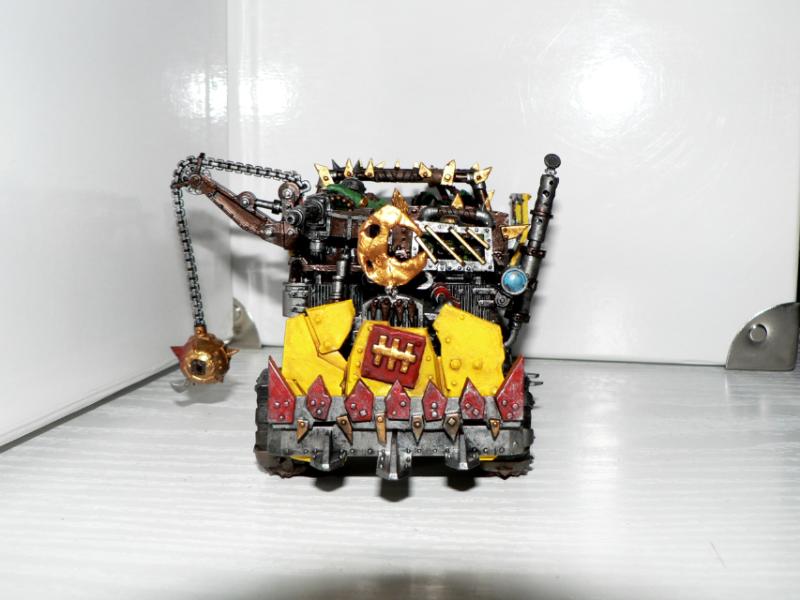
I love the golden wrekkin' ball. The weapon of a choice for a wealthy Bad Moon.

Bad Moons, Trukk, 23Trukk

The moon is made out of a Green Stuff. It looks a bit blobby and whacky; I confer, it is my first work with GS ever.

Bad Moons, Greenstuff, Trukk

Bad Moons, Trukk, 23Trukk - Side B

Bad Moons, Trukk, 23Trukk - Side A

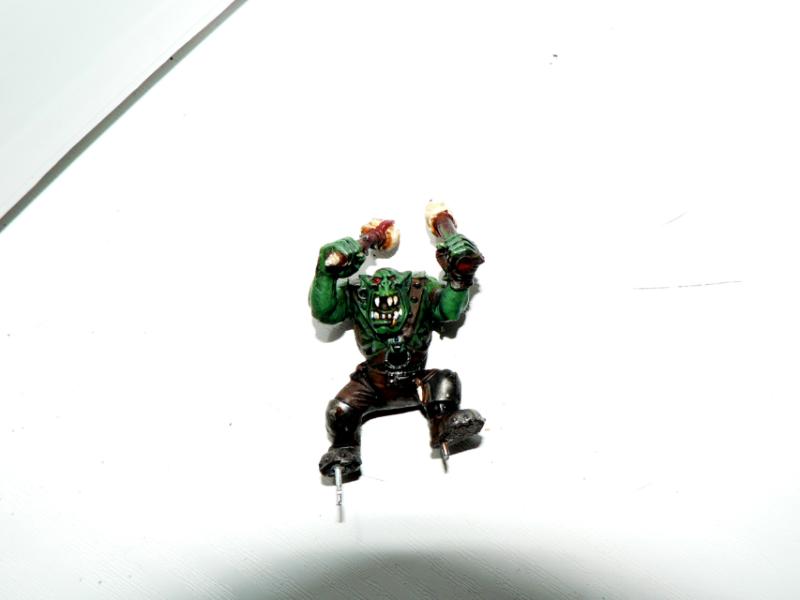
To make the Trukk a bit more comfy, I added a set of drums to the back, and a drummer as well!

Bad Moons, Drums, Trukk

Bad Moons, Drummer, Trukk

The drummer is easily removable, thanks to the use of pinning (and some paper clip bits):

Bad Moons, Drummer, Trukk

I have to say that even though it took me weeks to paint this one, I can't wait to paint another. The kit is very variable and I would like to try assembling it in a radically different way.

Well, now I'll go back to the Lootas... Have just one last to finish, so I should be able to post them pretty soon. In fact, I have a Genesis Chapter Tactical Squad ready as well, all it needs is the chapter logo... Give me some time and I'll try to print my own decals, I promise!

Anyways, thanks for reading! Any input is most welcome!