Grand Theft Auto IV Walkthrough
| « | 97 | 98 | 99 | 100 | 101 | 102 | 103 | 104 | » |
| Portrait of a Killer (cont.) | United Liberty Paper |
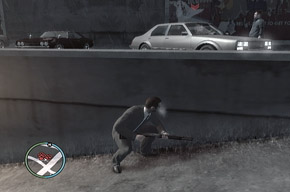
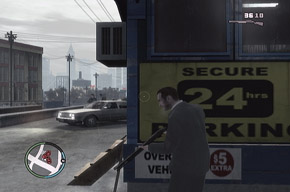
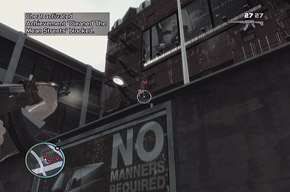
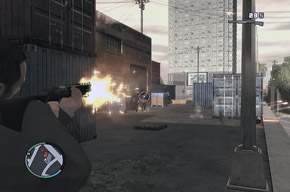
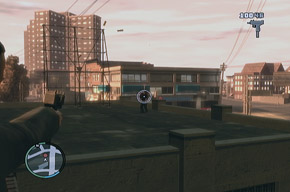
When you arrive at your destination, a plethora of red dots will appear on your HUD. These represent all of the enemies in the area, and naturally you're going to need to eliminate them all, not only your intended target. Thankfully, as seen in the screens below, there's a great place to begin firing upon as the driveway slants upwards. You can peek over it and begin firing away at foes (use a shotgun for nearby enemies and automatic weaponry for those far away). Then, as you work your way towards the left, use the various cars as cover, being sure to dodge enemy bullets as you keep the heat on.

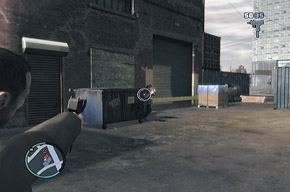
It's a good idea to aim a machinegun up at the roof of the garage and begin thinning out the enemies there. That's because, using a ladder on the building itself, you'll need to head up there, and preemptively clearing the enemy ranks before your climb will make surviving your brief stay on the roof a lot easier. After clearing what enemies you can (kill at least three foes before your climb), you can then climb up and begin exterminating any remaining foes. The baddies up here have better cover to utilize, so take things slowly and target one foe at a time to make the situation easier for you.
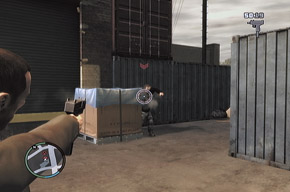
Now, when all of the red dots but one have disappeared from your HUD, that means that it's time to go after your mark. You'll notice that the red icon has a black line on it, however, indicating that the foe is either above or below you. To get to him on the higher-up roof adjacent to the building, you'll need to head to the far right of the initial roof and boost yourself up onto some metal crates. Use these crates to climb and jump up to the roof where the foe is located. Then, do him in with a firearm of your choice. Case closed.
| Give us feedback! | Continue Walkthrough... |
Grand Theft Auto IV: The Ballad of Gay Tony Cheats
Grand Theft Auto: Episodes from Liberty City Cheats
The Elder Scrolls V: Skyrim Cheats
Saints Row: The Third Cheats
Grand Theft Auto IV: The Lost and Damned Cheats
Red Dead Redemption Cheats
Call of Duty: Black Ops Cheats
Assassin's Creed III Cheats
Minecraft (Xbox 360 Edition) Cheats
Call of Duty: Black Ops II Cheats
NDS
Professor Layton and the Last Specter
X360
Forza Motorsport 4
Wii
Rune Factory: Tides of Destiny
NDS
Harvest Moon: The Tale of Two Towns
PS3
Dark Souls
PC
Dark Souls (Prepare to Die Edition)
X360
Warhammer 40,000: Space Marine
Web
War Commander
PS3
Ultimate Marvel Vs. Capcom 3
X360
Trials Evolution
|
Grand Theft Auto IV at IGN
Grand Theft Auto IV Cheats at IGN
Grand Theft Auto IV Guide at IGN
Grand Theft Auto IV at GameSpy
Grand Theft Auto IV at TeamXbox
Grand Theft Auto IV at GameStats
|