
Simple user control, to quickly add notes or take a look at quickly needed statistics are essential for an app. Not always the developer can guess what will be convenient for a particular user, and much less often, there is the opportunity for the user to customize everything for himself. This is not the case with us 🙂
There are two ways to find the side menu setting section:
- Menu – Settings and control – Menu customizing
- Settings – Interface – Menu customizing (The gear icon to enter the settings is located above the vehicle name located in the side bar)
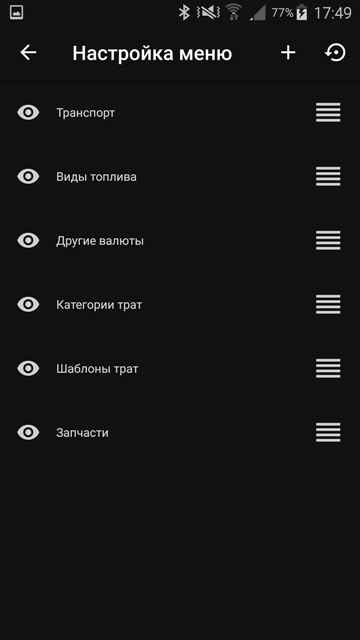
Setting section of the side menu:

All menu items can be divided into two groups – sections that group several elements, and the actions that lead to the opening of pages (lists of expenses / categories / statistics / cards) – of any entities of the program.
Thus, the menu has one level of nesting. By default, this first level of nesting opens to the setting.
The sections that group the items are highlighted with an arrow on the right, for example “My Data”.
When you tap on a section, the list of subordinate elements opens:
When you long press any menu item, a context menu opens with a list of possible actions. This is true for both menu levels:
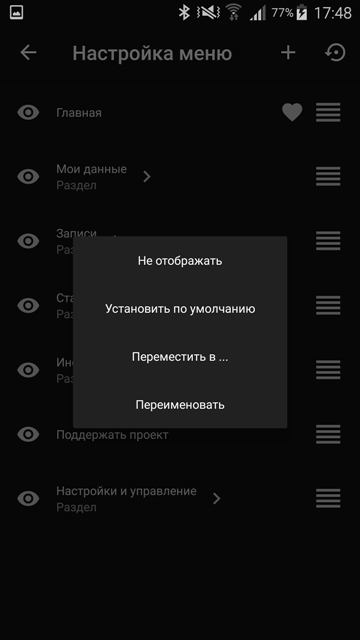
- Display / no display – does not display sections marked with a crossed-out eye