|
|
Coffee
Cup Animation Part One
Creating The Frame Images |
 |
|
|
|
|
|
|
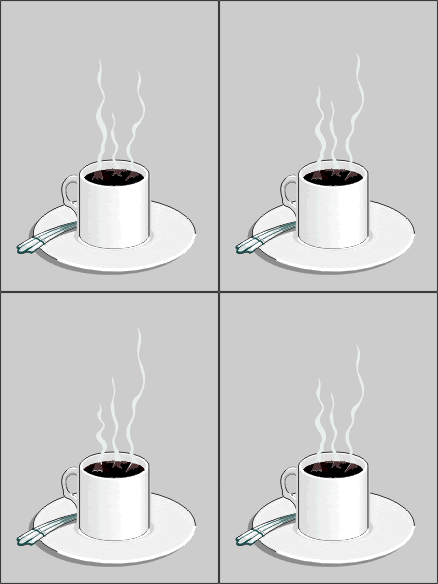
This is an easy animation you can do with CorelDRAW®.
This tutorial uses CorelDRAW 8 or 9 to create the frames
and Adobe® ImageReady™ to animate them. For
those who don't have ImageReady, you can use any other
animation program to make the animated GIF (click
here for Royal E. Frazier's software page). For
this tutorial, you also need the clip art image COFFEET.CDR
(in the Food/Drinks folder of the CorelDRAW 8 or 9 clipart
collection) or COFFEET.CCX (in the Food4 folder of the
ccx clipart in one of the Corel Gallery collections
available commercially). You can probably find this
image in most any Corel clipart collection or substitute
one of your own.
1. First, startup CorelDRAW and open the file. Next,
click the "Landscape" button on the toolbar
to switch the page orientation. This will give us enough
room to make the frames.
2. Select the object group and drag it to the left
of the page.
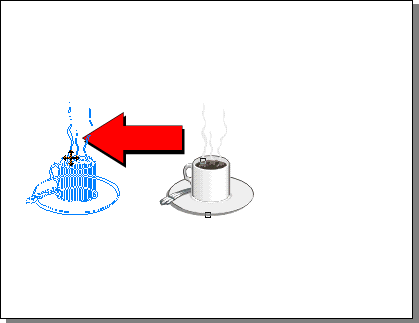
3. Your workspace should look something like the one
below.
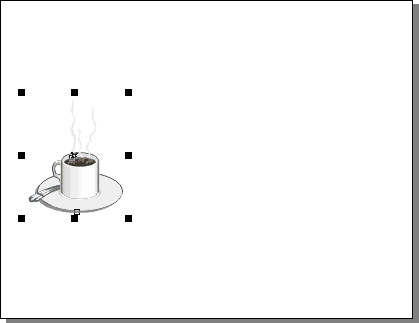
4. We need to modify some of the objects so while the
group is still selected, click Arrange > Ungroup.
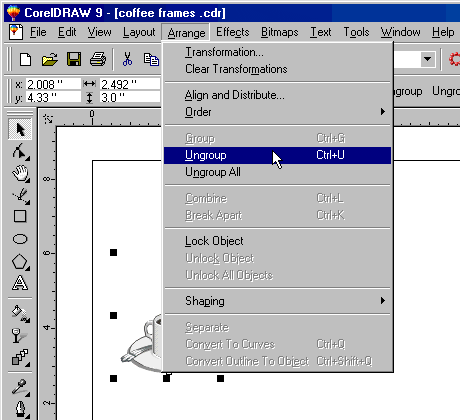
5. Now the drawing will appear as separate objects.
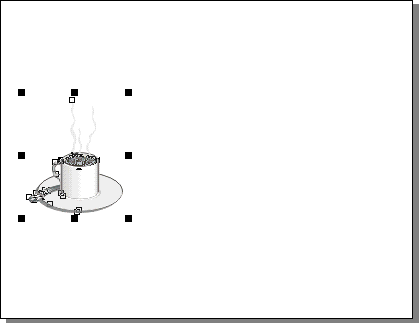
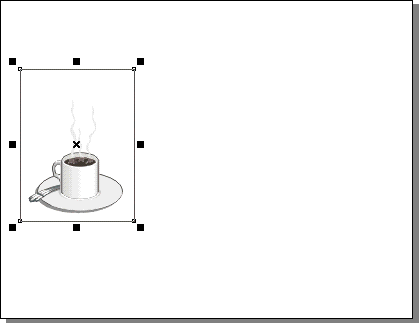
6. Next, click the Rectangle Tool and drag a rectangle
around the coffee cup. This will provide a common frame
of reference for each frame so they will align with
each other when they are assembled.
 |
|
Tip: Creating a rectangle
as a common frame of reference for each image is
a standard way to make frames for animations. Do
this whether you keep the rectangle in the finished
animation or get rid of it by cropping it out. |
7. The rectangle will still be selected after you draw
it.
Click
Here To Continue...
|