You might remember my post a few weeks ago about ways to stylishly babyproof the home, particularly the stairs.
I searched the web to find ways to babyproof our odd banisters and stairs, because conventional baby gates weren’t working and the previous tenants had come up with some really unattractive options.
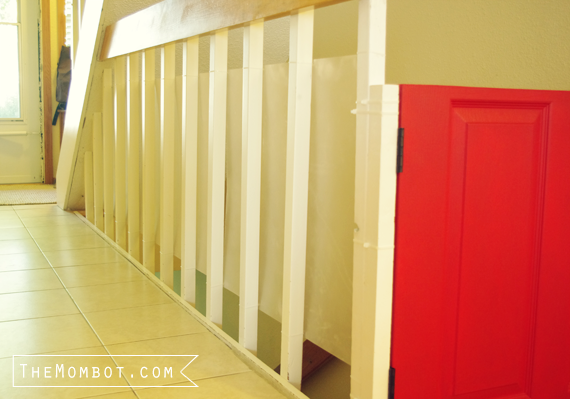
That’s what led to these red baby gates that I made from a $30 door purchased at Home Depot.
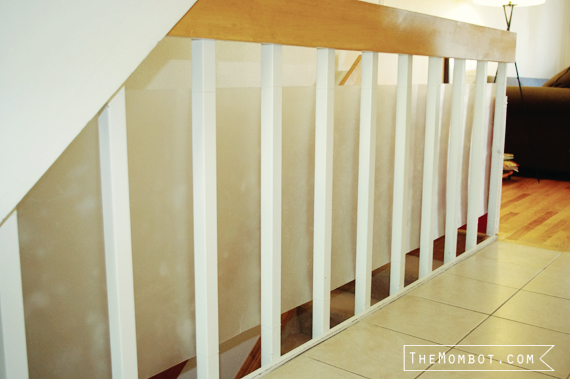
When it came to the space between the railings, I was all set to use the Clear KidKusion Banister Guard (and had actually already purchased it from Amazon), until I ran across poster-size sheets of plexiglass at Hobby Lobby for only $6 each (say what??). I had been trying to find affordable plexiglass because I really wanted to recreate something like the pricey railing guard shown in this post, but I kept coming up empty.
So I purchased 4 sheets of plexiglass from Hobby Lobby, along with some frosted glass spray because I really wanted them to be opaque (I felt like it would up the style factor a bit, plus you wouldn’t be able to see the inevitable smears and kid saliva). The total price was cheaper than the Banister Guard, which made me do a little happy dance.
I tested the glass spray on the plexiglass and it seemed to work fine, so I went ahead and sprayed the remaining sheets. But as I started, I realized it was really hard to keep the frosted look even, and there were weird streaks showing up on the plexiglass. I’m not sure what caused this, other than to guess it’s just what happens whey you spray a glass spray on plexiglass, which is… not glass.
Anyway, I cried a little on the inside when they were done because they looked kind of crappy. I felt like a DIY failure (much like my baby gate project), but decided to make the best of it; after all, the money had already been spent. We forged ahead and my husband and I starting hanging them on the railings. I already knew I wanted to hang them in the middle of the railing (vertically speaking), because it adds a little more visual interest than if they were flush with the ground.

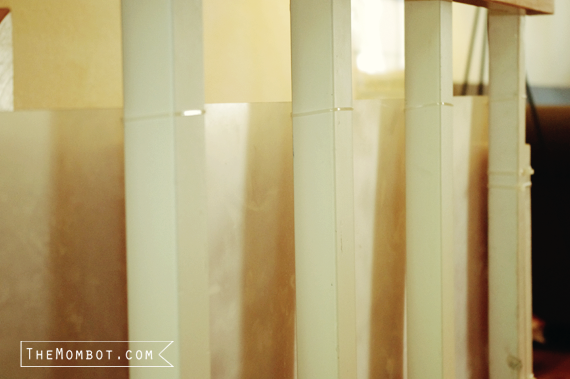
We couldn’t drill into the railings like I would have preferred because we rent, and also because they are made of steel. So instead, we used clear zip ties (purchased in the $1 section at Target, no less!) to attach the plexiglass to each railing. We held the sheets up to the railings and marked where we needed holes for the zip ties, then held the plexiglass down on top of a piece of wood and drilled the holes. Luckily, the sheets of plexiglass fit perfectly between our railings (meaning a whole sheet started and ended behind a railing, so matching them up and hanging them was easy).

When all was said and done, I wasn’t too upset over how they looked. You can still see the streakiness and it’s kind of blotchy, but it’s bearable. I am still researching ways to fix it and make it less noticeable.
But the most important thing is that it keeps our kiddos safe. They were interested in the guard at first, but now they never touch it. If you had a child who was constantly banging up against them, you might want to go with the plastic KidKusion Banister Guard instead, because plexiglass does crack with enough pressure. In hindsight, I think we also should have put zip ties through the middle of the plexiglass sheets for added support, instead of just the top and bottom. I may still go back and do that.
All in all, it looks WAY better than the black plastic netting that was there when we moved in and I am generally happy with the results! Not a total DIY success, but not a complete failure either – and I’m ok with that.
///// U P D A T E /////
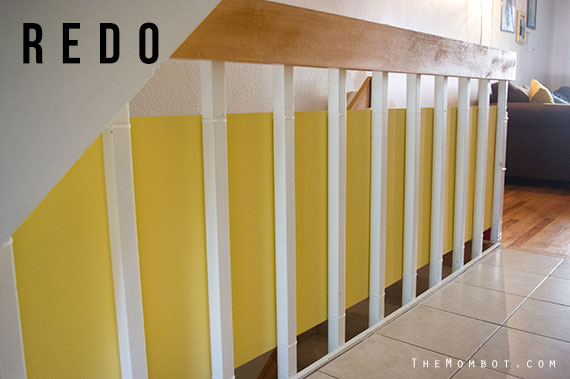
08.15.14 We recently figured out a sturdier and perhaps more attractive way to babyproof our stairs. Check it out here:

