Warning This sample has been migraated to the new platform-samples repository and will no longer be maintained.
Please use the following sample instead.
Thank you for your understanding.
This sample demonstrates how to build Android AppWidgets with:
RemoteViewsand the new Widgets APIs introduced in Android 12 (API level 31) together withcore-remoteviews.- Glance for app widgets.
The new set of APIs allows an application to build more engaging and beautiful widgets. Use this sample together with the App widget guides.
- Android 12 (API level 31)
- Android Studio Chipmunk or newer
This sample uses the Gradle build system. To build this project, use the "gradlew build" command or use "Import Project" in Android Studio.
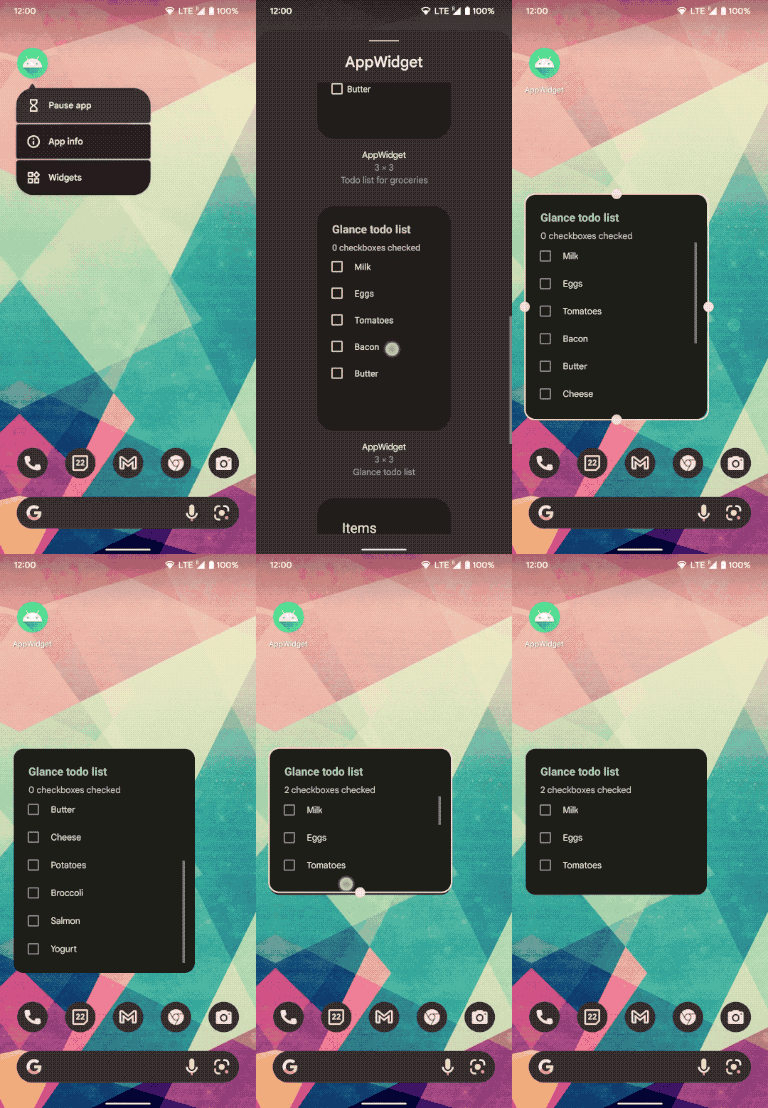
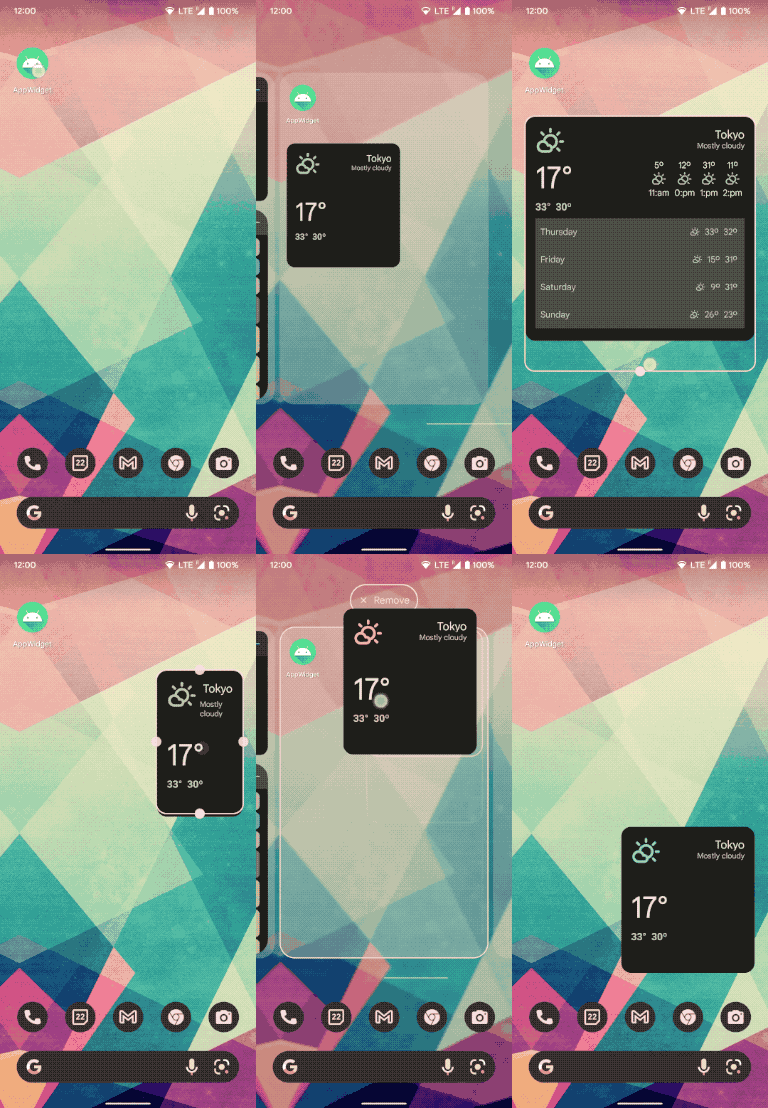
The sample contains 3 type of widgets:
- ToDo list: showcasing how to create a list of items
- Buttons: showcasing how to use the new CompoundedButtons and handle click events
- Weather: showcasing a "real-life" weather widget.
Those are implemented in two packages:
In addition, the MainActivity showcases how to request the launcher to "pin" an appwidget.
More showcasing resources in the screenshots folder
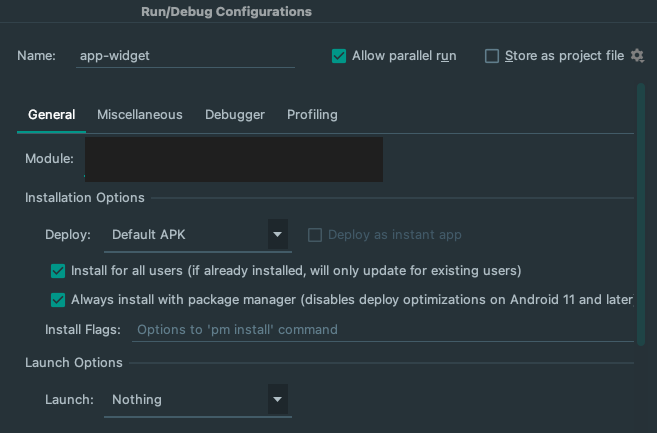
When creating a new run configuration, it's important to ensure that the widget is recreated without launching a new activity. Follow these steps to do so:
- In Android Studio, select Run > Edit Configurations.
- In the Run/Debug Configurations dialog, select Always install with package manager....
- Under Launch Options, in the Launch menu, select Nothing.
This will ensure that the widget is recreated but no activity is launched.
- Stack Overflow: https://stackoverflow.com/questions/tagged/glance-appwidget
- Channel #glance at KotlinLang Slack (request to join).
If you've found an error in this sample, please file an issue at https://github.com/android/user-interface.
For API-related issues, please file any bugs using the following links:
- For Glance: https://issuetracker.google.com/issues/new?component=1097239&template=1611667
- For Core Remote Views: https://issuetracker.google.com/issues/new?component=460834&template=1418393
We encourage patches. You may submit them by forking this project and submitting a pull request through GitHub. Please see CONTRIBUTING.md for more details.


